středa 21. března 2012

Finished: Magnetized Predator

Edit: Be sure to check out the wallpaper-size picture of this tank here!

It took ages, but my Predator is finally finished! I decided to make its weapons magnetized - after all, you never know whether the Annihilator pattern won't be worth it when the next Codex gets released. Anyways, let's see the dakkapred first!


I tried to make the vehicle more detailed and more weathered than my Rhino. More bright colors are used (mainly for targeters), and I've done some weathering around the exhaust pipes - nothing more than a simple drybrush, but it feels good.


A side view on the Destructor pattern, showing the weathering and a heavy bolter. I use a 1:1 mix of Tin Bitz and Chaos Black for the black metal on weapons.


I've already tested the Destructor in a small battle and I have to admit it is a beast (at least when it comes to putting down Orks). Yet, somehow, I like the design of Annihilator more, and I guess it can be seen on the model. A sniper tank with four lascannons (ok, three and a half, technically) just deserves respect; I wish this setup would be more worth it in-game. As a side note, I'm glad I got all the insignia right this time (gotta love that Insignium Astartes).


Finally, the controversial Maverick (or "autolas") pattern. Somehow this pattern actually feels the most basic for me, since it was the only one featured in Final Liberation, the game that got me into this hobby.

Anyways, let's take a short look on the magnetizing!

Magnet, Predator, Magnetized Predator Turret

The turret wasn't really hard to magnetize. What you need are 3mm wide, 1mm high neodymium magnets; they fit the holes almost perfectly. I also advise glueing a small piece of plastic on the turrets lower side, so that the weapon holds firmly and doesn't fall down (which is always a risk with small magnets). If you look carefully, you can see on the picture that I used just a small piece of sprue there, and it works great.

Magnet, Predator, Magnetized Predator sponsons

The sponsons are harder to magnetize right. I decided to go the easy way and replace the whole weapon support with a line of magnets - it works pretty good and is not really noticable on the model. Just be *very* careful to glue everything right and even, so you don't end up with the weapons leaning in sloppy angles. Drilling a correct size hole into the weapons themselves is annoying as well; perhaps a bit of green stuff might help there (didn't try though).

Magnet, Predator, Magnetized Predator

So here's the model with all its parts separated. The army building possibilities are great with magnetized models, but to be honest, if you are a perfectionist, go with the normal, un-magnetized look. If you are more into gaming, though, magnetizing will allow you to try a lot of options without proxying or buying multiple models and the Predator is a good model to get a grip on it, since you need magnets of only one size. Be sure to get a good bunch of them, thought - the turret part requires at least 6, and the sponsons require anywhere from 4 to 12, depending on the way you deal with it.

Anyways, I hope you like the vehicle! See you soon.

neděle 19. února 2012

Simple Combi-Flamer Conversion

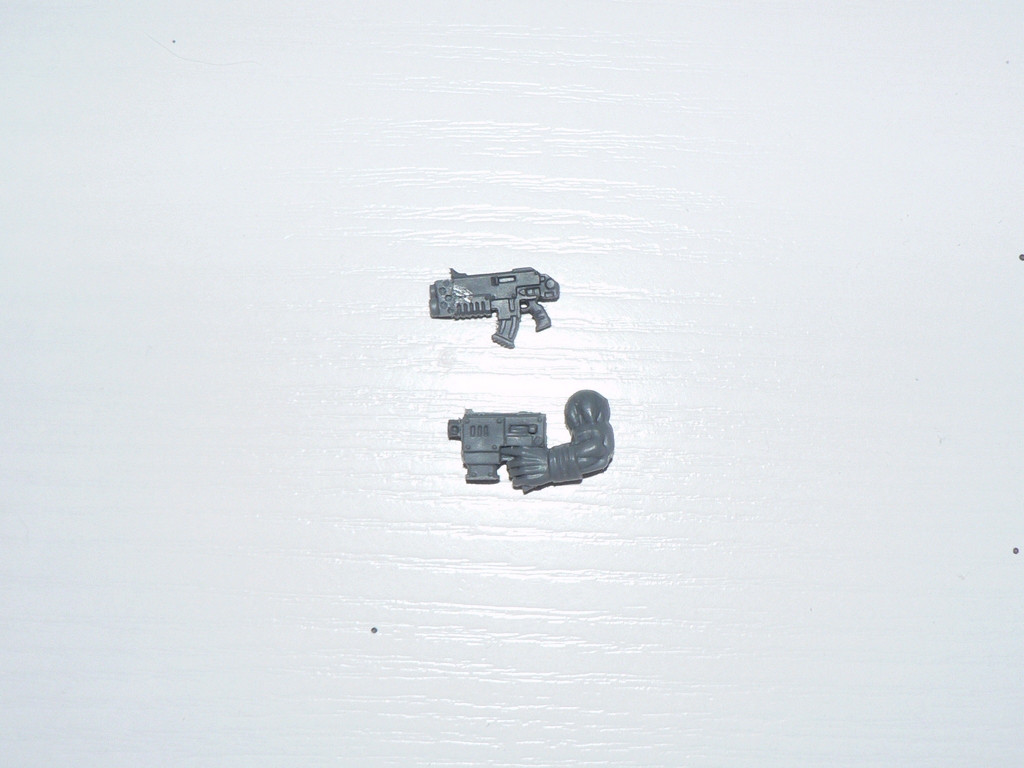
Hello! You might have noticed my love for combi-weapons before in my tutorial for combi-plasma conversions. I'm fond of flamethrowers too, so this post will be about converting a combi-flamer using as basic bits and techniques as possible.

1. Basic materials

Yes, for this conversion you'll need not much more than a regular bolter and an orkish slugga pistol! You can find this particular slugga in Boy Mob kits, as well as in the Assault on Black Reach box.

2. Merging it together

I think the pictures are self-explanatory here. First, carefully cut off the boltgun's muzzle. Then, cut off the slugga's frontal part and glue it onto the boltgun. File the surfaces first so the new muzzle is exactly in line with the boltgun - you don't want to leave the gun with a bent barrel!

3. Adding a fuel tank

As an optional decoration, you can take krak grenades, split them up, file them and glue them onto the weapon. They'll make good fuel tanks for the flamer.

And that's all! The final product actually looks quite similar to the "Vulcan pattern" combi-flamer, which can be seen at Lexicanum. You can even try to put the krak grenade part under the barrel, to make it nearly identical.

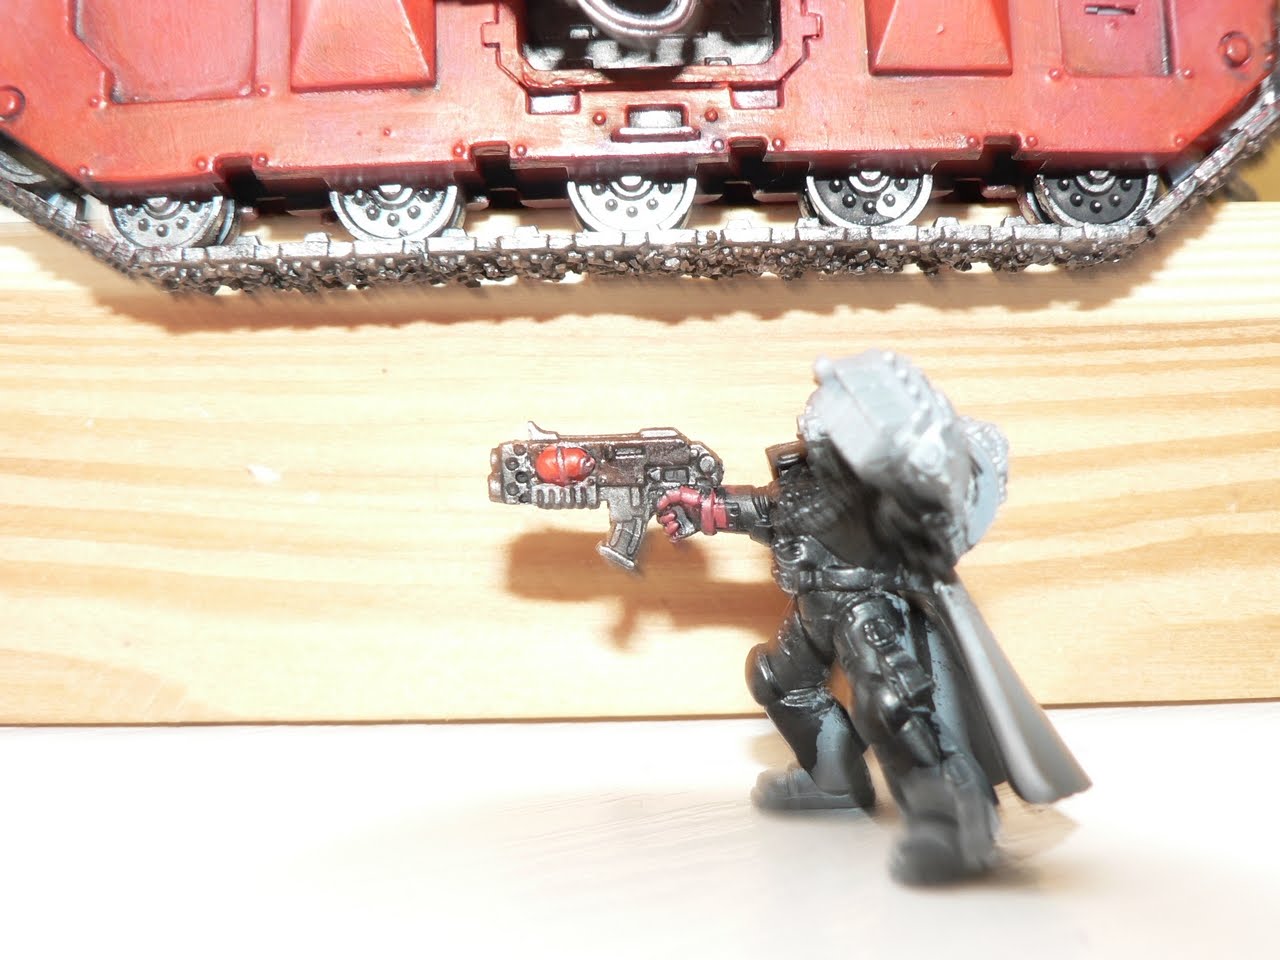
Here you can see the finished weapon on a commander:


And here you can see the weapon again, with some paint:


Anyways, I hope you found this tutorial helpful! As always, comments and criticism is most welcome.

sobota 21. ledna 2012

First Genesis Chapter Bike

I'm working on my new Ravenwing Battleforce and I have just finished the first Bike. Since I still have six more to do, I thought I'd share pictures, in case I'm doing something wrong.

So, here it is!

Bike, Genesis Chapter, Space Marines

As you can see, the marks show that the marine is an Assault marine of 2nd Company, 7th squad. I didn't put squad number on the bike, even thought it should be there according to Insignium Astartes. It seems illogical to me that the bike should show squad number, but not a company marking, so I didn't paint the squad number at all. After all, according to the fluff, bikes belong to the chapter Armoury, and not to Companies (as do Rhinos and some other vehicles); the Companies instead request them according to mission requirements.

Bike, Genesis Chapter, Space Marines

This picture shows a better detail of the base. I modelled the base according to a tutorial that was available on the Games Workshop site, but it looks like they took it down now! The base is covered by a thin layer of Green Stuff - and the bike track was made by pressing a spare Bike wheel into it. The effect is pretty cool, and complements my idea of a swamp planet pretty well, although most of the track is covered by the bike anyways. Here is a detail shot of the base, before I put the bike on it:


Regarding the bike model itself, it can be seen that it's mould dates back to the third edition. The detailing is simply not that good, but luckily a good paintjob can cover that well! I hope I have achieved that.

And that's about all for now, so - thanks for reading! As always, comments are most welcome. After all, I still have five more of these to do, and an assault bike as well!

čtvrtek 5. ledna 2012

Genesis Chapter Tactical Squad Revisited

You might remember my first Tactical Squad. It missed squad markings and consisted (mostly) of basic AOBR marines, so I've decided to revisit it by adding markings, and mixing in more "advanced" marines.


Probably the most important change is the Sergeant. I've decided to supplement the flamer combat squad with a new Sergeant; particularly because I wanted to arm the squad with a stronger close combat weapon, and particularly because I've grown quite allergic of the stock two-dimensional AOBR sergeant.

Genesis Chapter, Power Axe, Sergeant, Space Marines, Tactical Squad
Sergeant Malleus, 3rd Tactical Squad, 2nd Company

As you can see, the new one is quite an improvement. The axe is a power weapon from Assault Squad sprue, and the other parts are standard Tactical Squad bits. I got quite bored of bare head marines, so I gave this one a helmet - in blue color, to represent sergeant status. I also stopped to paint marine eyes in Blood Red and instead went for Iyanden Darksun.

I've made minor changes to my first Rhino as well; after reading Insignium Astartes, I've found out I got the markings all wrong. So I've replaced them with a 2nd Company insignia and a tactical mark; note that the large tactical arrow is yet to be added. I also added a large Genesis Chapter logo on the back doors.

Genesis Chapter, Rhino, Space Marines

I'm still solving out my army list, and I'm thinking about actually putting this Tactical Squad into a Razorback, so that's why the Rhino still doesn't have squad markings. For some time though, the squad will use it as a dedicated transport, so here they are together:


And here is a better look on the squad markings, which are variously placed either on shoulder-pads or knee-pads:


As you can see, the squad is the third squad of Second Company (indicated by the golden shoulder-pad rim), Genesis Chapter. I'm afraid I quite messed up the Sergeant's banner, because the squad number insignia there looks too similar to a company badge - see the picture with Rhino to understand what I mean. I'll definately use different style of markings on future banners.

Anyways, thanks for reading! I hope you like the squad. As always, any comment or criticism is welcome. Do you think I should re-do the banner, to make it more apparent that it displays squad number? Or is it apparent enough?

neděle 25. prosince 2011

First Alaitoc Guardian

Hi again! Just wanted to share a picture of my first painted Alaitoc Guardian. I didn't really use stippling here (I save it for vehicles), but I had great fun painting the carapace armour with Enchanted Blue, Ice Blue and Asurmen Blue wash. It definately looks better than my first try on Alaitoc, which ended up a bit too dark-coloured.


As you can see, there are still many things to improve on the model - for example the fingers holding the shuriken catapult could get some washing, and the jewels could be more detailed as well. I'll probably return to this model when I'll work on other Guardians, but right now, Genesis Chapter is the priority.

Also, I experimented with the basing a bit. You can see a piece of ruin there with an Eldar hieroglyphe (which is actually the symbol for Guardians). The plan is to make the Eldars look as if they are guarding an ancient sacred place.

Anyways, Merry Christmas (or Chanuka/Kwanzaa) and happy New Year! I'm sure about to have fun with a new Ravenwing Battleforce that I'm about to use for my Genesis Chapter army.

Gotta love the Ravenwing upgrade sprues... They make me think about assault cannon Razorbacks.

Anyways, see you in 2012! That is, unless the mayan prophecy turns out to be true.